
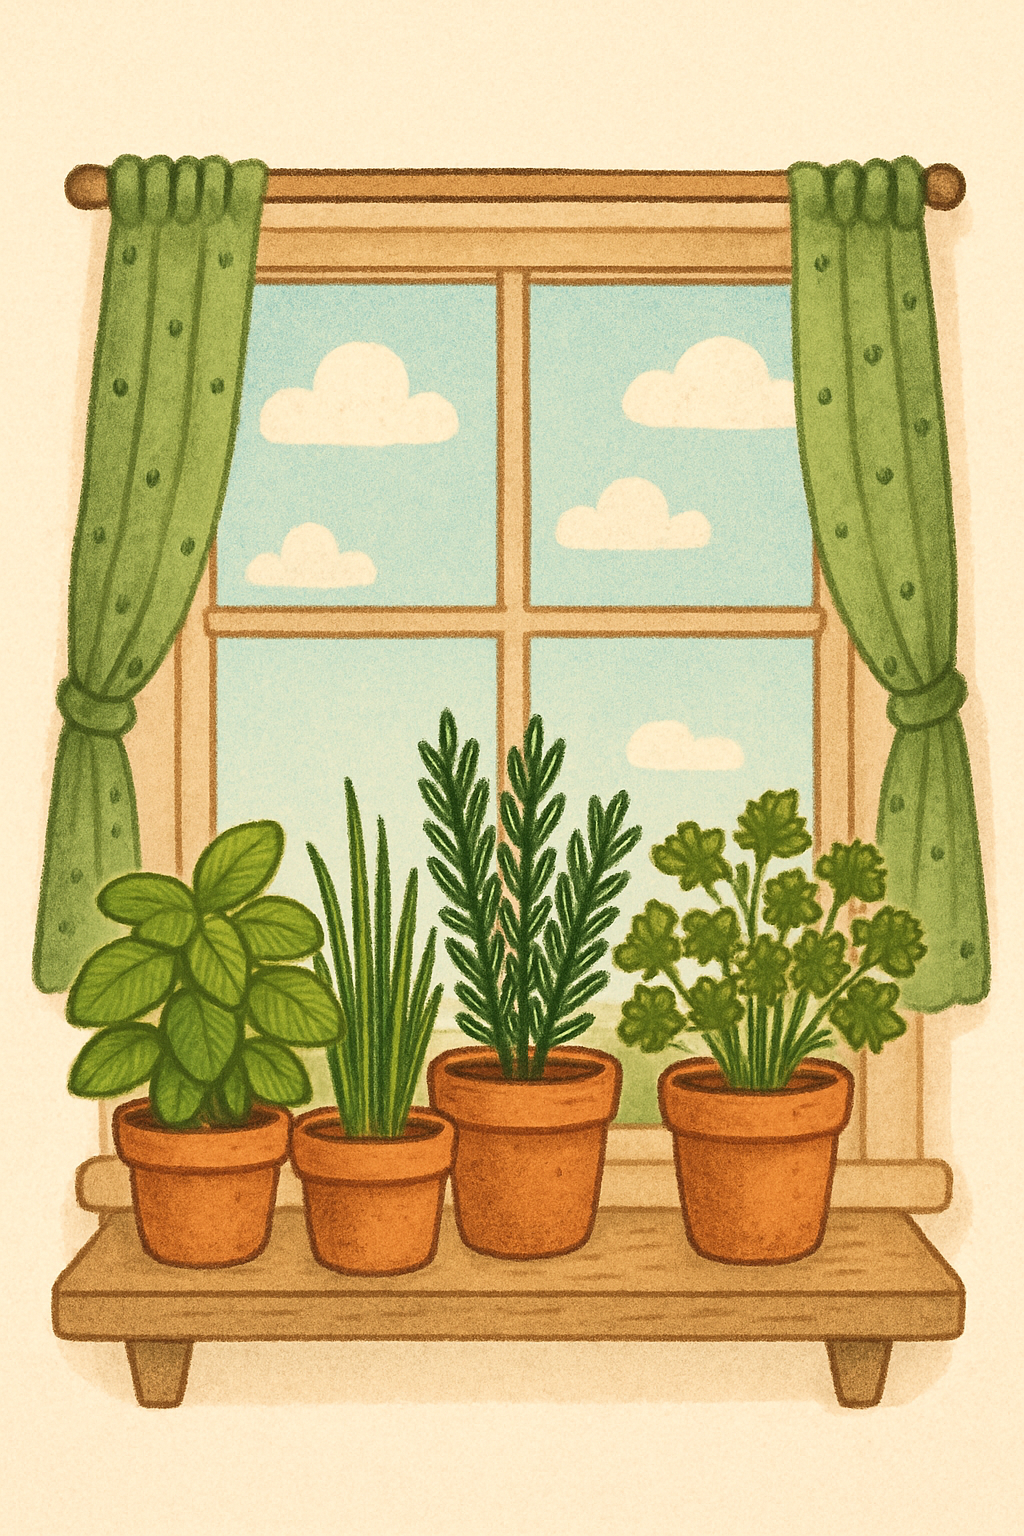
There’s something super satisfying about using herbs you’ve grown yourself in your kitchen window. A window herb garden is a small way to bring flavour and life into your home. What I love most about this is that you don’t need any space or experience to do this yourself. I started mine one afternoon, I had some extra time on the homestead, and now I can’t imagine cooking without it.
If you’re new to herbs or want a cozy touch to your kitchen, this guide is for you. Let’s dig in.
Why Start a Window Herb Garden?
- Fresh herbs at your fingertips
- Saves money on buying herbs from the store
- Bring a little greenery into your home
- Perfect for small spaces
Step One: Pick The Perfect Window
Herbs love sunlight and most need 6 hours of sunlight a day. A south or southwest-facing window would be perfect, but you can always observe your windows to see which is the best pick for you. If you don’t get much lighting or, in some cases, any lighting, you can always supplement with a grow light or an LED.
I put my herbs right in my kitchen window because it’s the sunniest, and it’s a good reminder to water them!
Step Two: Pick Beginner-Friendly Herbs
My best advice is to start with forgiving herbs and grow well indoors. Here’s my top picks:
- Basil – Loves warmth and sunlight. Perfect for pizza, pasta and pesto.
- Mint – make sure to grow in its own pot because it spreads like crazy. I often use this in tea and ice cream!
- Thyme – Low maintenance and smells amazing, great for soups and basting.
- Parsley – Great all-around herb that grows well in pots.
- Chives – Easy to grow and the perfect topping for dishes.
- Rosemary – Prefers drier soil and lots of sun.
If you’re just starting out, pick 2-3 and see which ones work well for you and your needs!
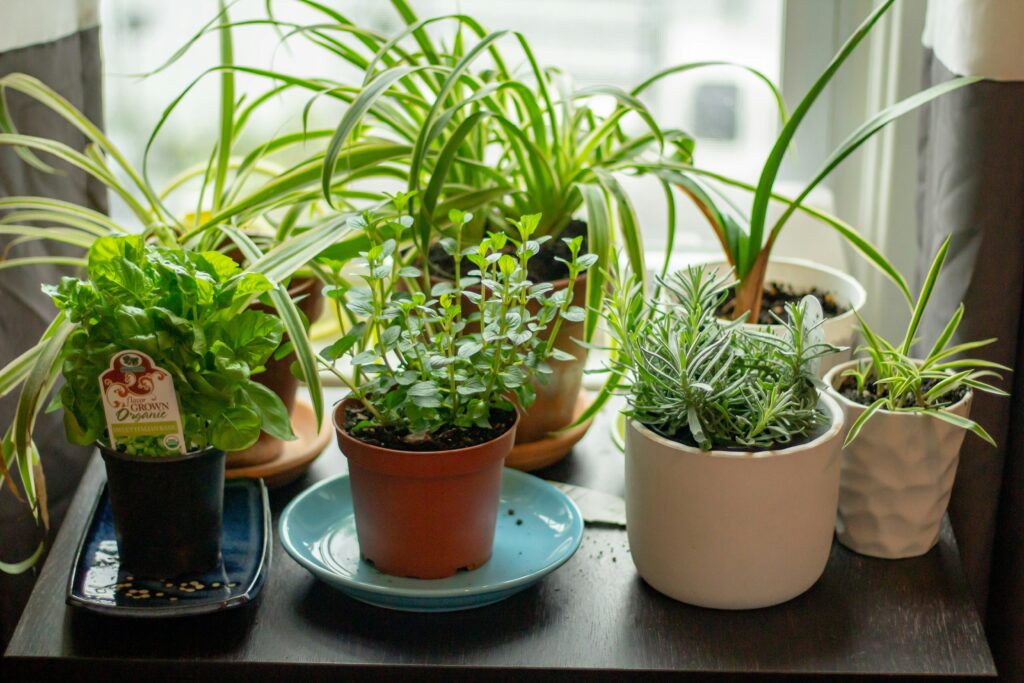
Step Three: Picking The Right Pots
Look for smaller pots with lots of drainage to prevent root rot. I personally love reusing old containers and jars for my herbs. You can use anything from an old yogurt container to old mugs and cups (with added drainage holes, of course). Finding something to catch the water is also helpful, and if you find that your container isn’t draining well, you can always add a layer of rock at the bottom of it.
Step Four: Using Great Soil for Your Window Herb Garden
Skip the garden soil, it’s too dense. Choose a light, well-draining potting mix, if you can find one that’s specifically for herbs and vegetable plants – even better. Add in compost and perlite if you’d like! Your herbs will definitely thank you.
Step Five: Water Wisely
Most herbs like slightly moist soil, but never soggy. Stick your finger in the soil; if it’s dry below an inch, it’s time to water.
I keep a little watering can by the sink so I remember to stay consistent.

Step Six: Harvest Gently and Often
Snip herbs from the top of the plant to encourage growth. Never cut more than 1/3 of the plant at a time. The more you cut, the longer you let it recover. Harvesting often is actually one of the best things for herbs and keeps the plant bushy and healthy.
Your window herb garden doesn’t have to be perfect. Start small and experiment. If you run into problems, you can always try again! It’s all a learning process.
Happy growing! Let me know in the comments what you’re planning to start!