You’ve decided to start a garden this year, but like me and many other gardeners, you’re probably experiencing the winter blues and feeling impatient—wondering when you should be starting seeds indoors. Don’t worry! I wrote this post just for beginners like you and other gardeners who may need a few tips and tricks for getting off on the right foot with their seeds.
Crows Crossing is a participant in the Amazon Services LLC Associates Program, an affiliate advertising program designed to provide a means for sites to earn advertising fees by advertising and linking to amazon.com.
First Steps To Starting Seeds Indoors
Finding Your Zone:
Starting on the right track starts with finding your gardening zone. What is that, you might ask? It’s the geographical zone defined by the climate and determining what plants can survive and flourish in your area. Not sure what your zone is? Just Google your town, zip or postal code and add “gardening zone” at the end of it. However, make sure to check at the start of every gardening year because with the climate changing, the zones are also subject to change (I went from zone 5 to zone 6 this year, making it a longer growing year).
Check Your Seed Packets:
No matter what seeds you’re starting indoors, the best information will be on the back of the packet. It’ll let you know whether starting it indoors or directly sowing it into your garden is best. It’ll also tell you when to start it indoors, giving it the best chance.
Supplies:
Here’s a list of supplies you’ll need to get started:
- Soil
- Seed trays, pots or soil blockers
- Grow lights if you don’t have a greenhouse/optimal lighting.
- Fan for air circulation
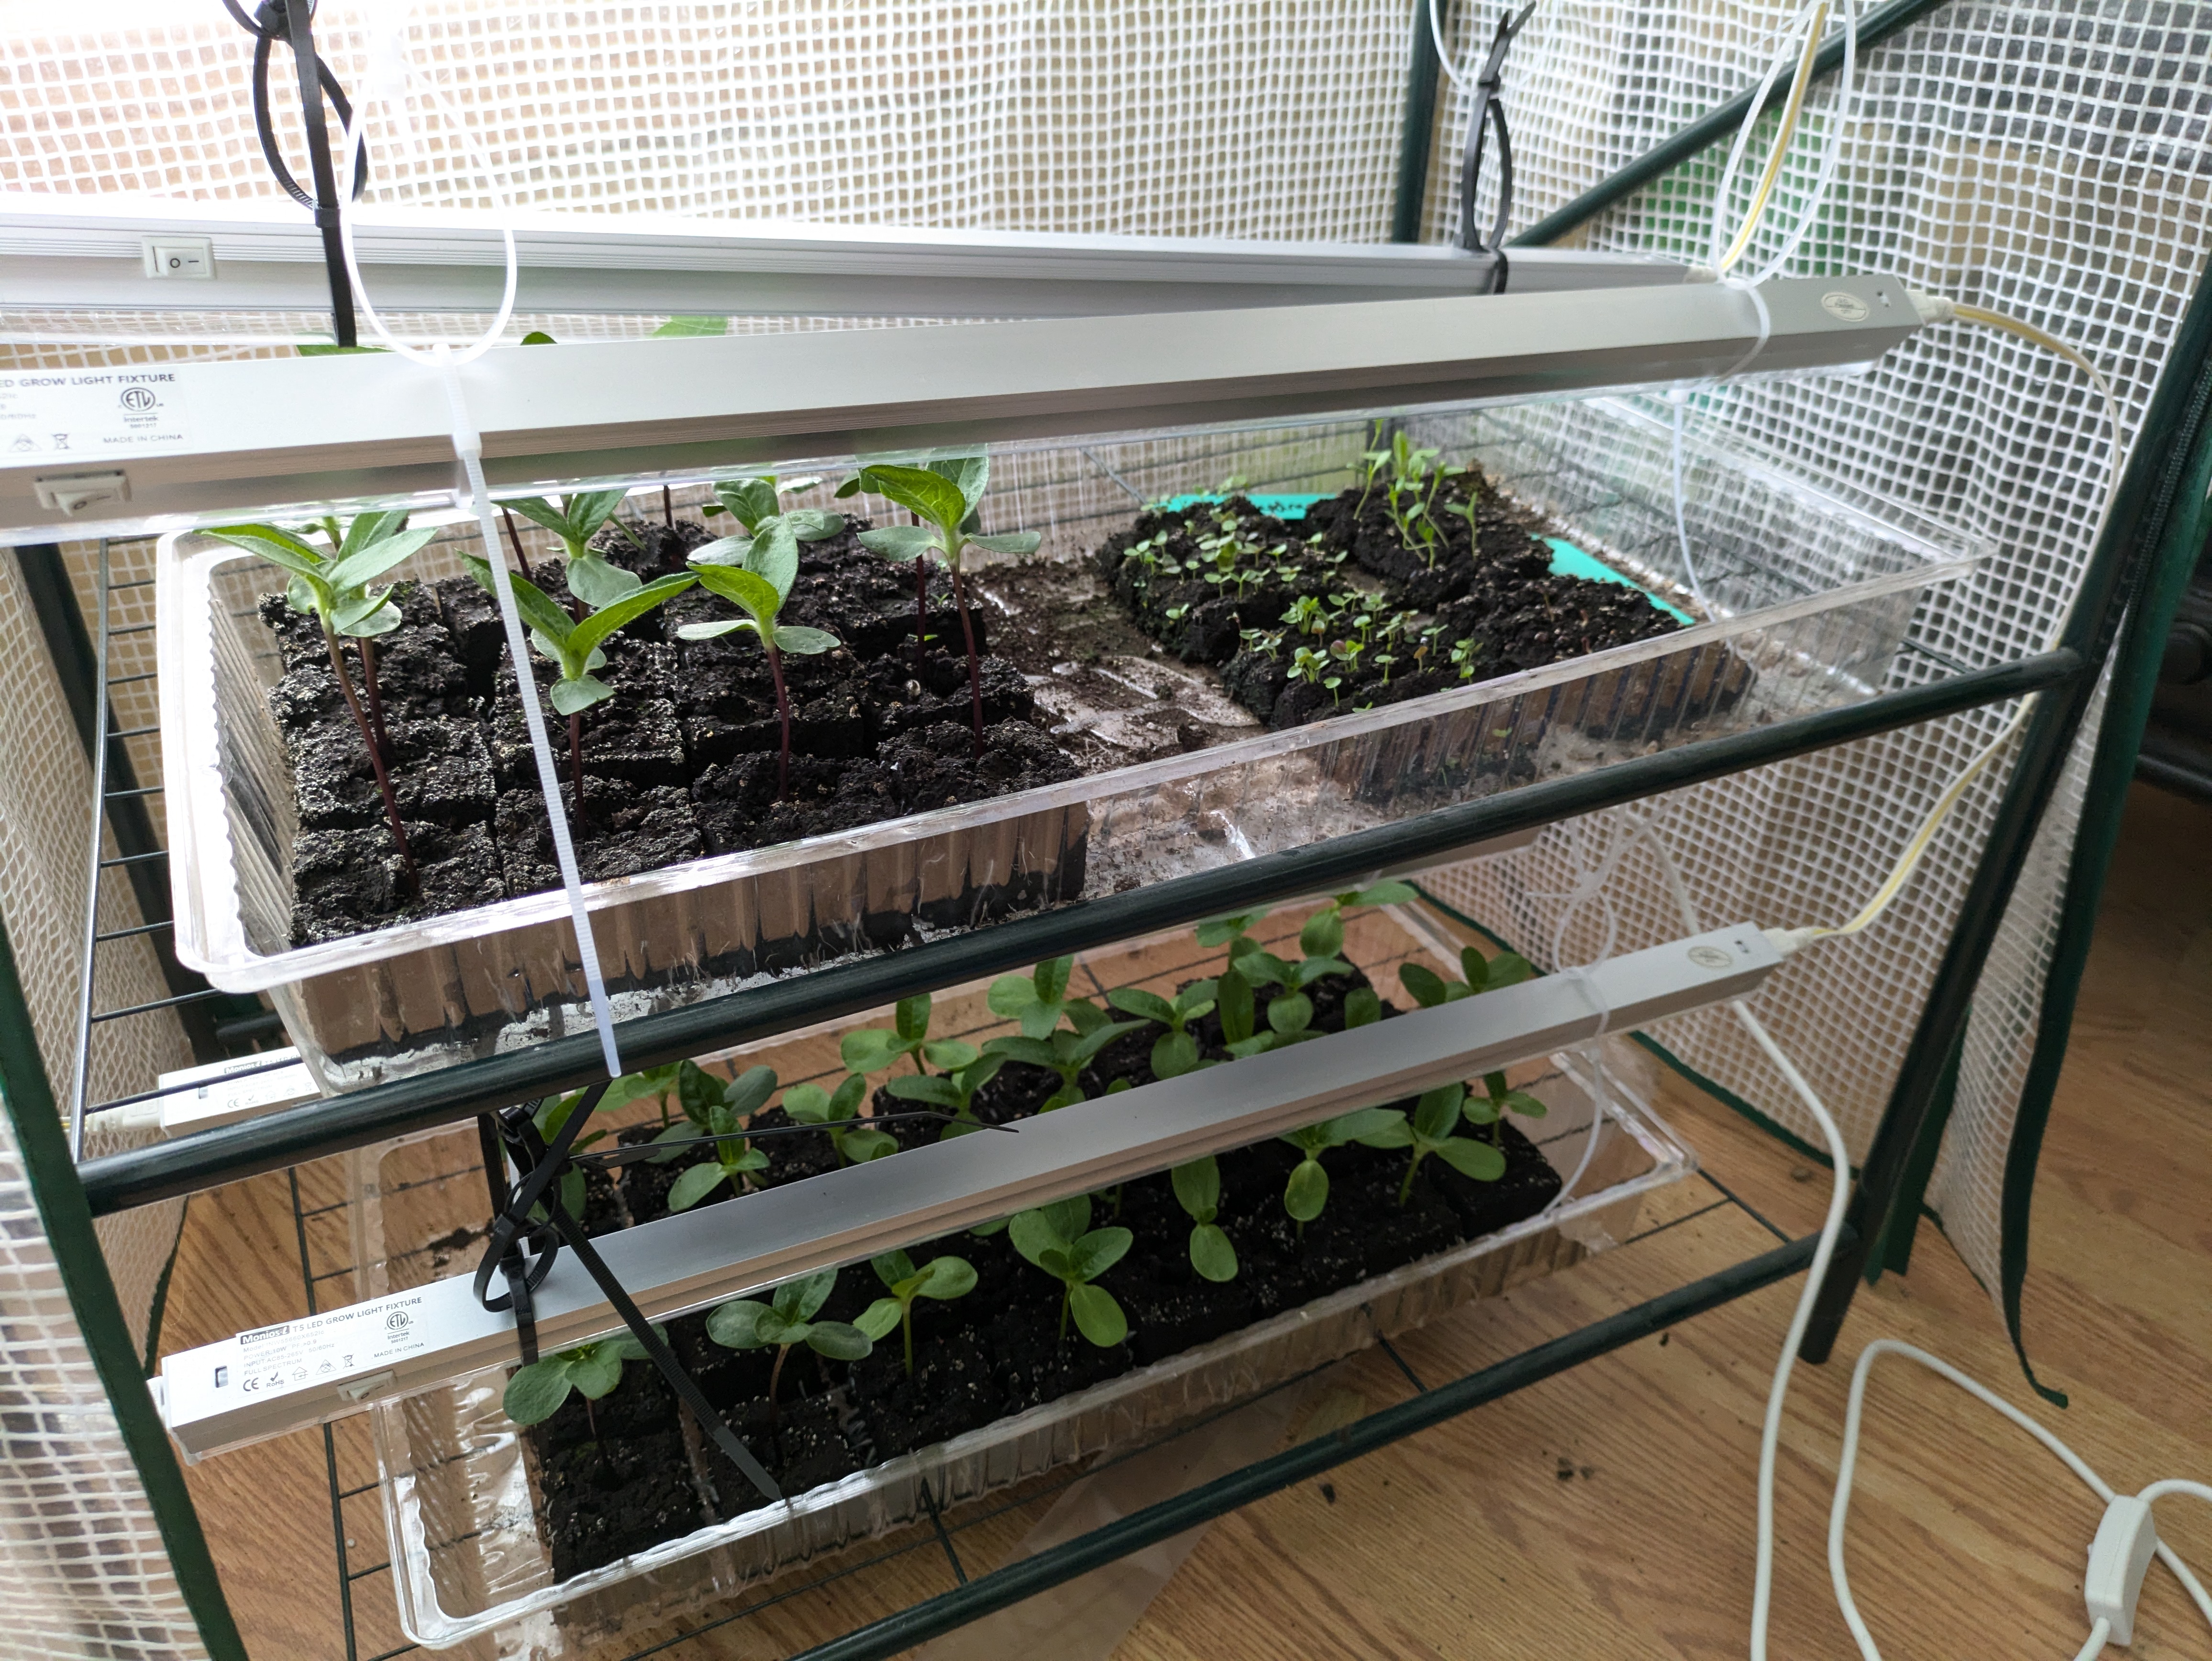
Starting Seeds Indoors Begins With The Right Soil
If you follow this blog or have, you’ll know that I always stress that soil is the most essential tool for having a thriving garden or plant. Soil plays such a beautiful, intricate part in ensuring the plants get what they need and creating a bountiful harvest of super fruits and vegetables. I could talk about soil and its connection to our health, but I won’t bore you (lol).
That’s why we must start our seeds in the best soil possible, either a store-bought compost blend or soil we’ve created ourselves with vermicomposting or composting in general. I love composting with worms because it creates a great soil for starting seeds and sprouting. I’ll create a blog post and link it here when I do.
Containers (or not)
You can get as creative and frugal as you want with containers, using what you have in the house and creating drainage at the bottom. You can also purchase containers cheaply at the store or on Amazon. Seed trays are also an option.
I’ve been using soil blockers lately, and man, was I missing out before. You can purchase them on Amazon; I’ll link them below. These are great because they last forever and will always supply you with a way to start your seeds. They also help with transplanting, making it easier on the plant and providing less shock.
Lighting:
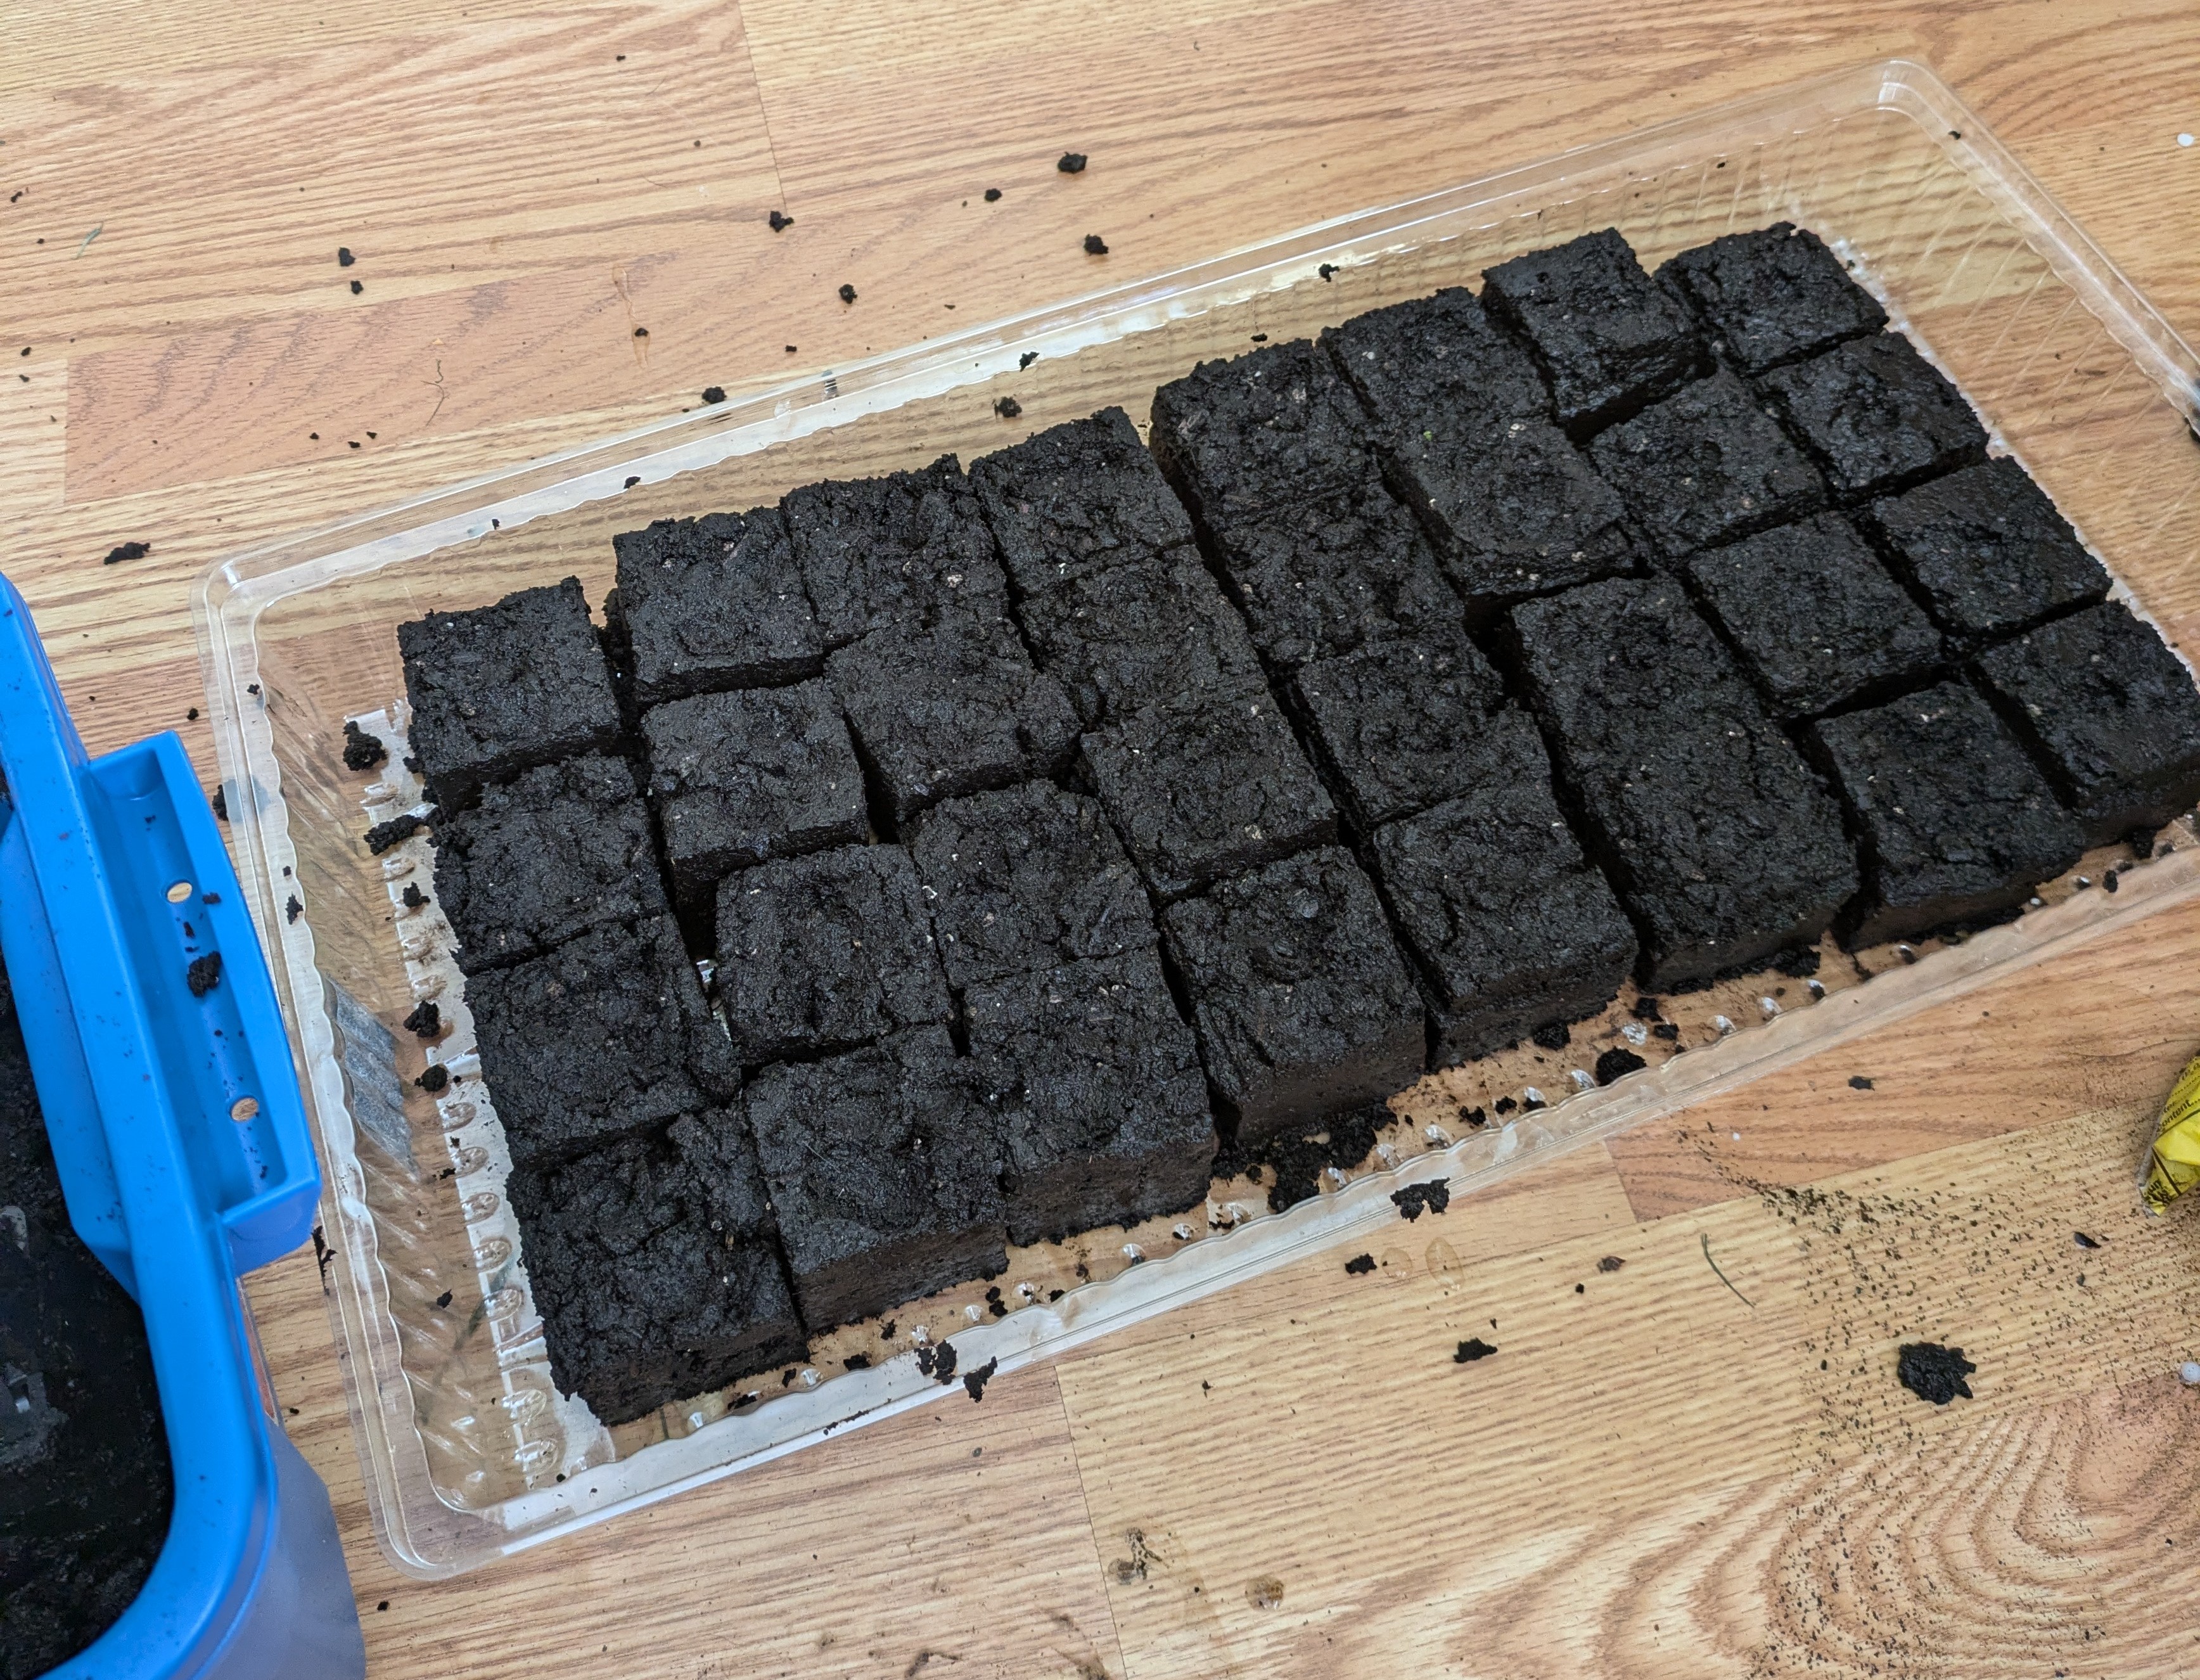
Lighting also plays a big factor in seed starting success; if we don’t have enough, the seedlings will end up leggy and weak – not making the best plant to hold up fruit/vegetables. Unfortunately, most of the time, we don’t have enough natural lighting in our homes to create optimal conditions for starting seeds. Unless you’re one of the lucky few with a greenhouse. No fear, though! Artificial lighting can make a huge difference, and it has for me. I would try to start seeds in my bay windows for a couple of years and failed miserably, just picking up seedlings from a greenhouse when I did. In the last couple of years, I made the switch to artificial grow lights, and it’s made such a huge impact on my seedling’s success. Here’s a link to the grow lights I used; I zip-tie them to the top of my small greenhouse in my house.
Heating
Heating isn’t needed when starting seeds, and most seeds will sprout fine at around 60-70 degrees Fahrenheit. However, some seeds do best when a heat mat is available. Make sure to check the seed packets to see the requirements of what you want to grow. Nightshades like tomato, pepper, and eggplant love their heat no matter their stage.
Here’s a list of some of the plants that do better with heat:
- Tomatoes
- Peppers
- Eggplants
- Cosmos
- Marigolds
- Rosemary
- Basil
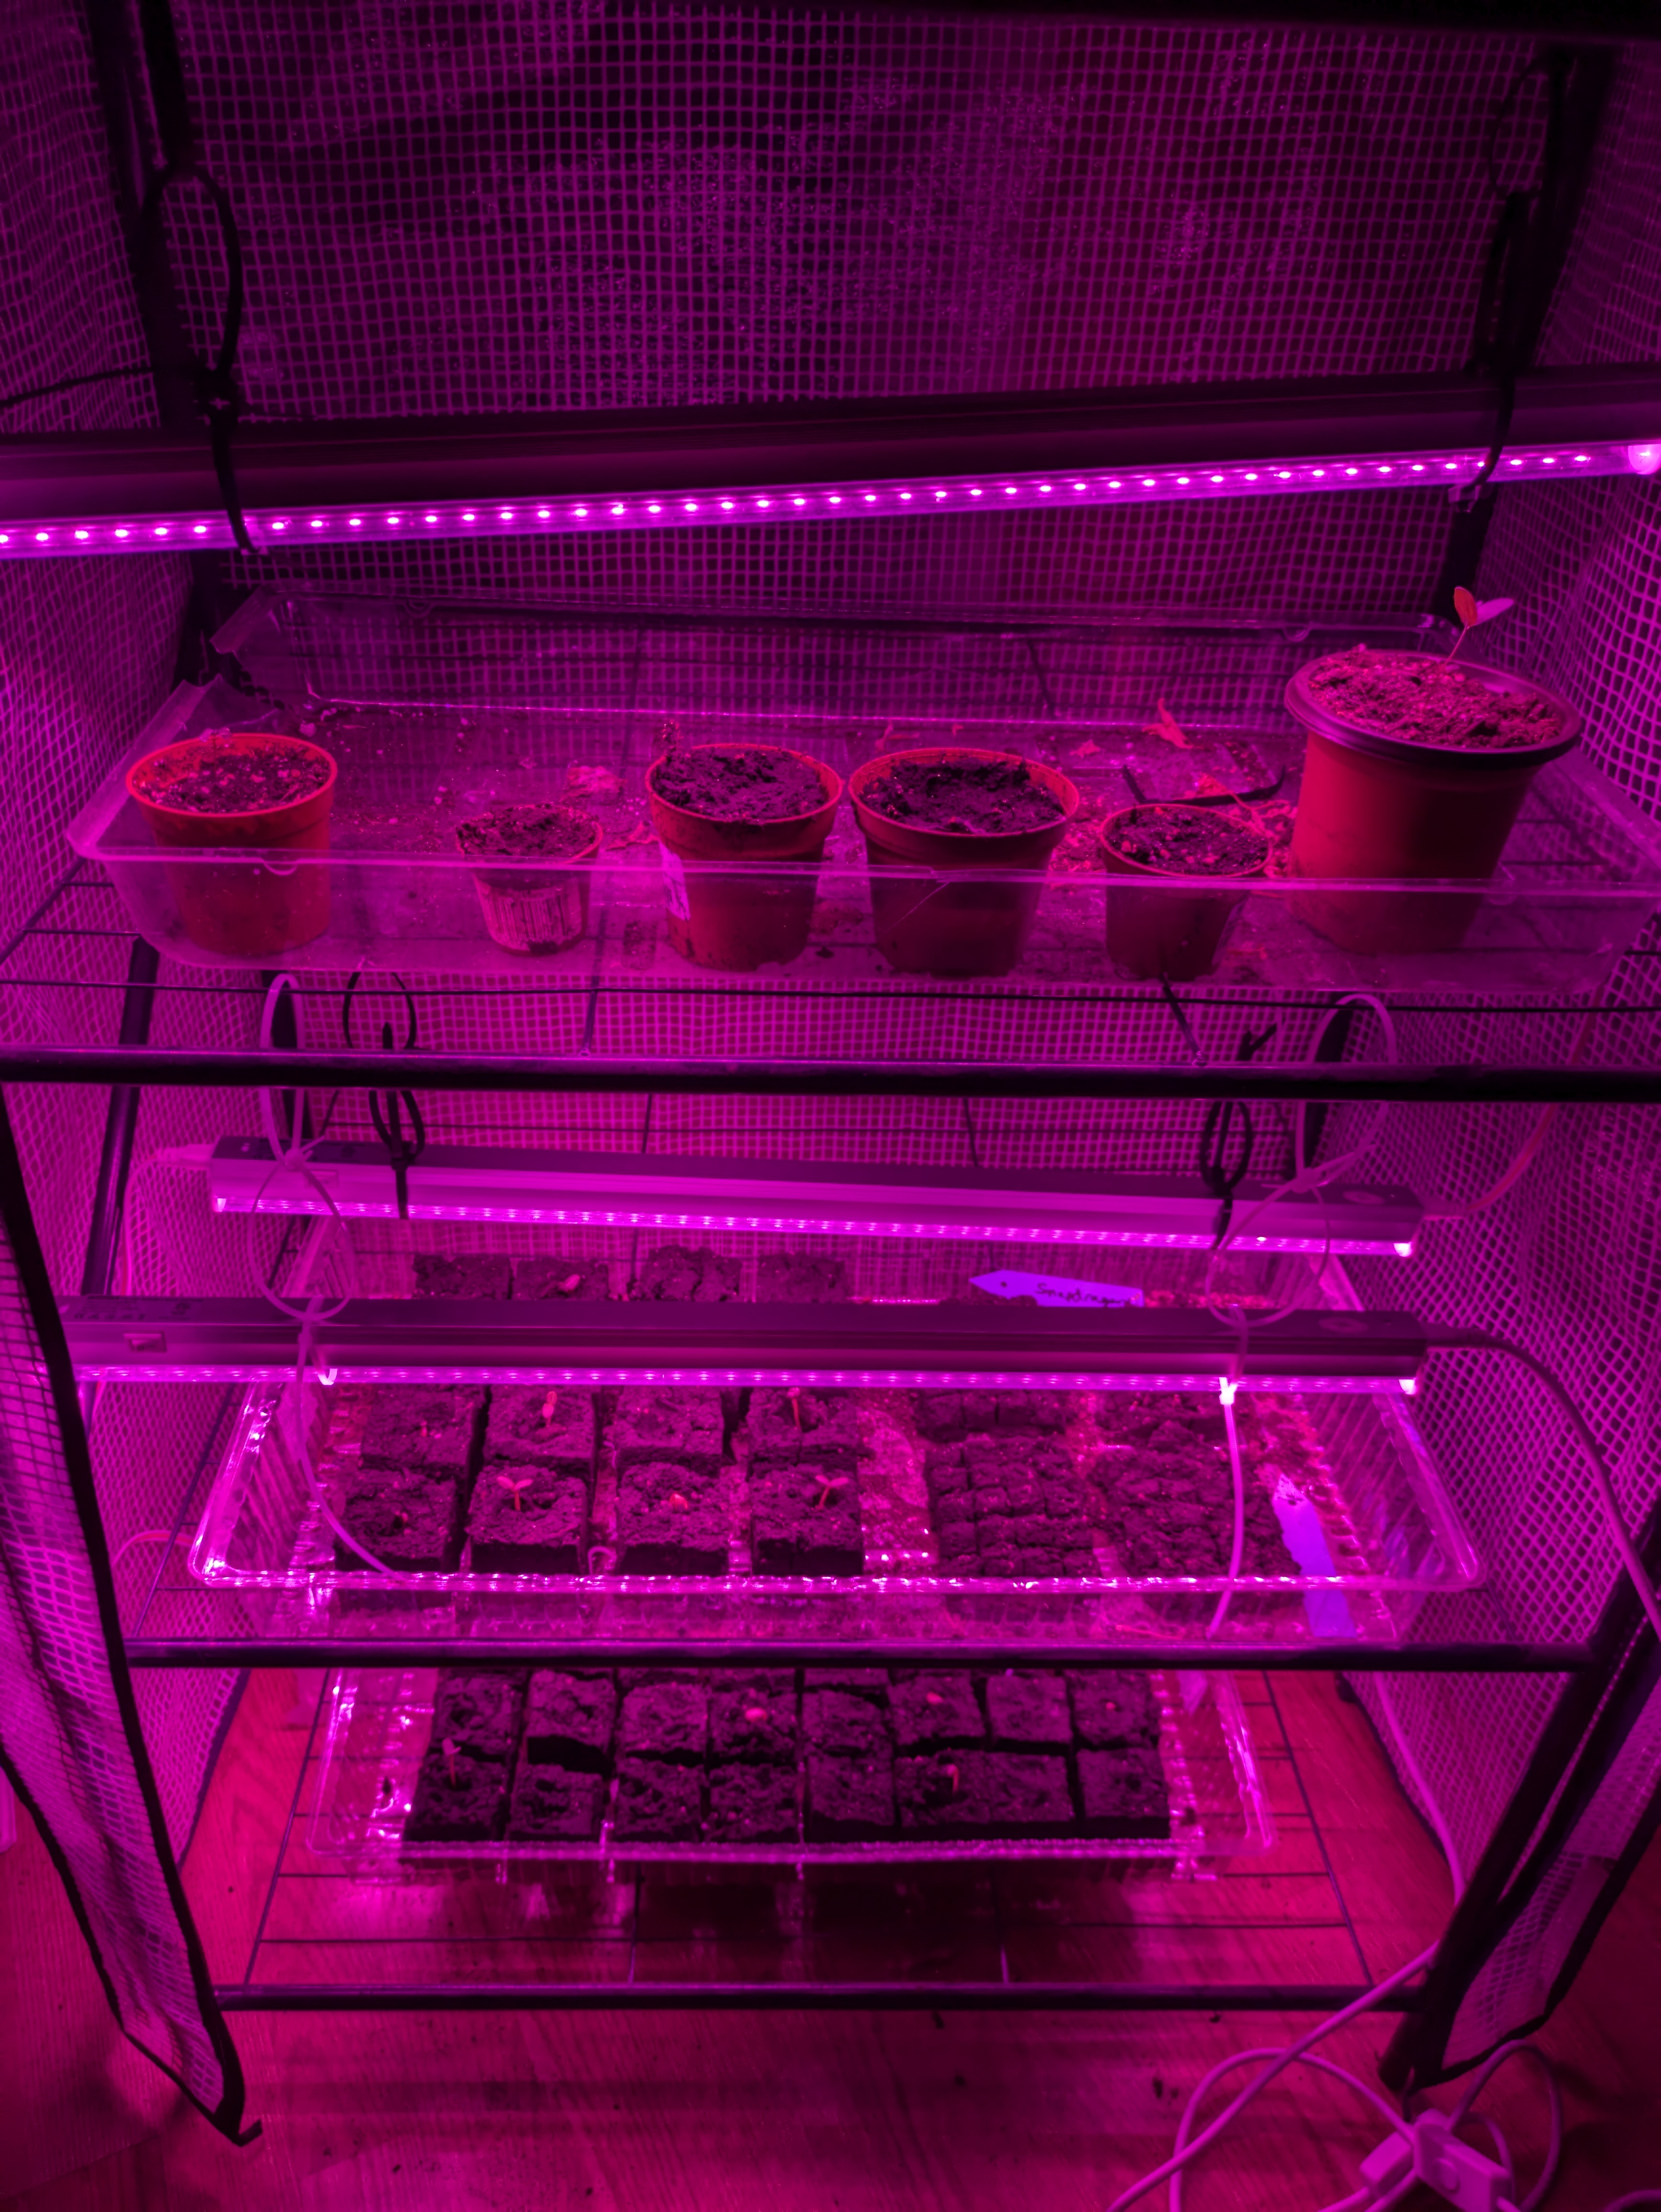
I don’t use heat mats because I’ve had a lot of success putting my small indoor greenhouse over a vent in my house and using my grow lights. Do this at your own risk. I ensure nothing obstructs the vent. If you have the funds to invest in heat mats, that’s great—they can give a great start to some of the plants I listed above.
Establishing Seeds With Fertilizer
Fertilizing with seedlings should not be started too early as it may harm them. Once you see the first “true” leaves, you can fertilize with minimal fertilizer. You’ll know when the true leaves come, usually after the initial sprout, and the leaves will look similar to what the mature plant looks like.
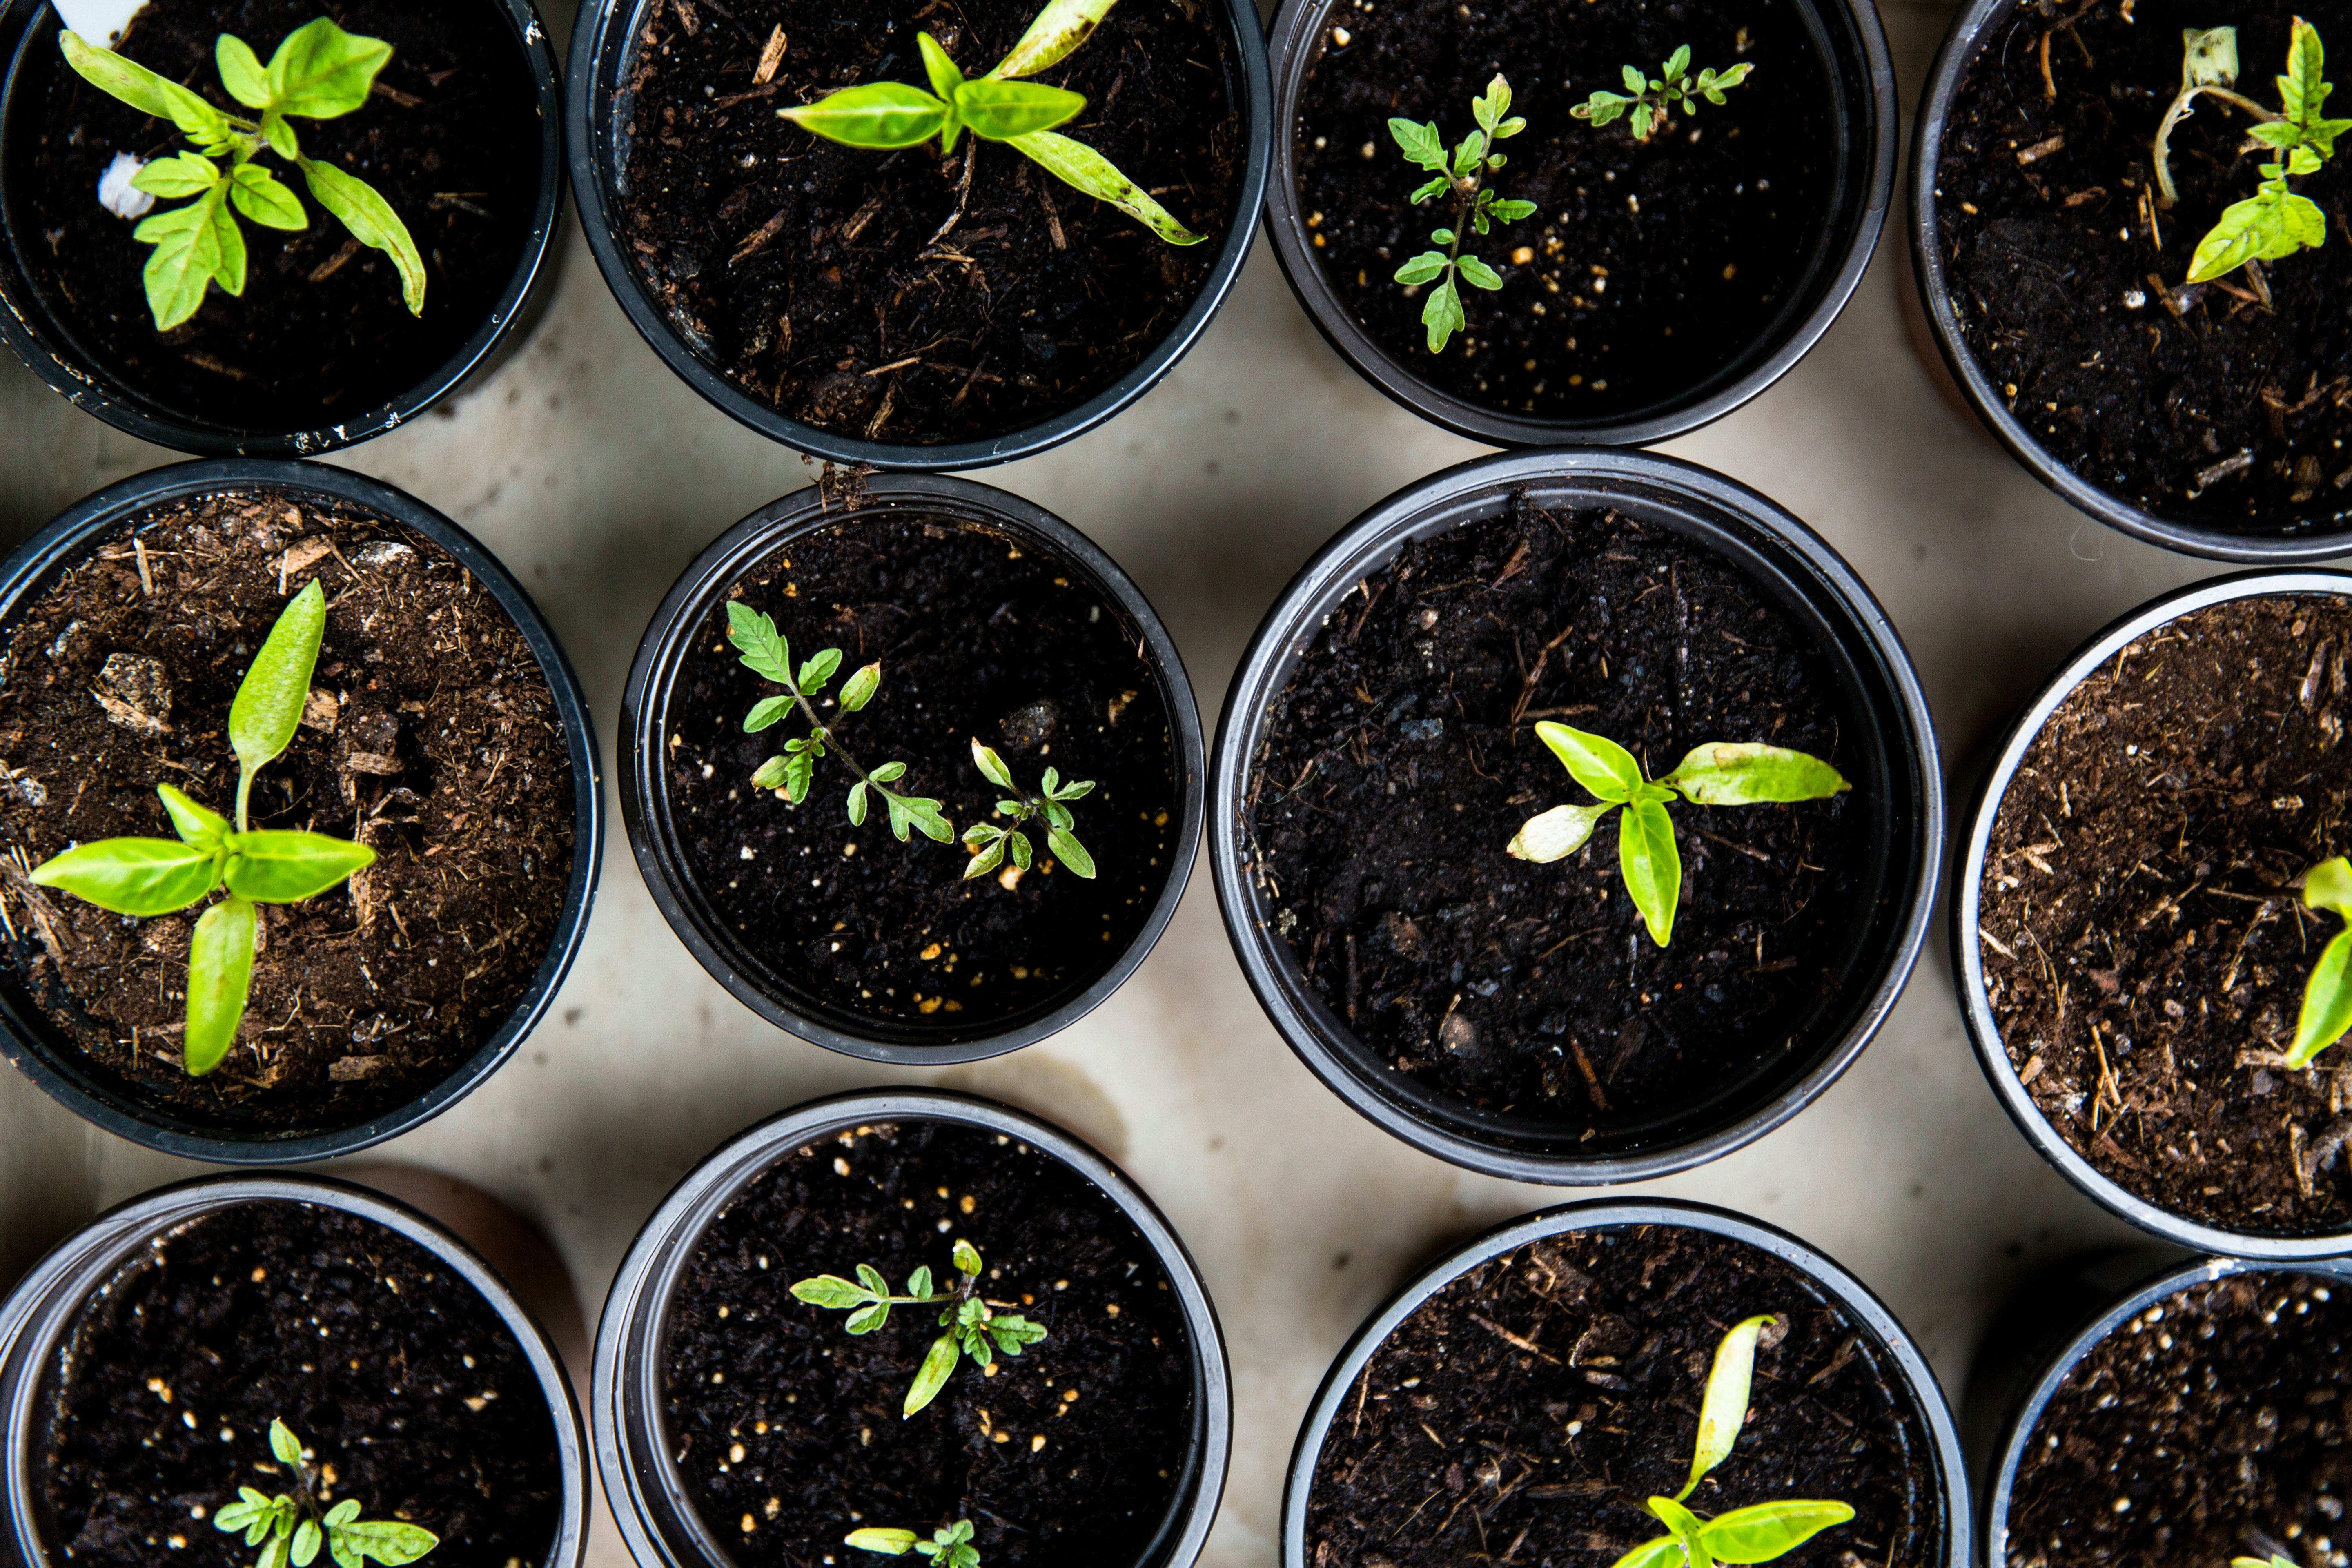
Starting seeds indoors is a rewarding experience. I hope this post helps you feel more confident starting seeds indoors. Make sure to leave a comment if you have any questions or want to share your experience; I always love learning something new.
If you found this post helpful, make sure to share or pin it – it helps others find it!
